DIY Home Security: Install 3 Smart Devices for Under $200 by Next Month
In an increasingly connected world, the concept of home security has evolved far beyond traditional alarm systems. Today, safeguarding your sanctuary means embracing smart technology, even on a tight budget. The good news? You don’t need to spend a fortune or hire expensive professionals to significantly enhance your home’s protection. With a strategic approach and a bit of DIY spirit, you can install three essential smart security devices for under $200, making your home safer and smarter by next month. This comprehensive guide will walk you through everything you need to know, from selecting the right devices to seamless installation and integration, focusing on enhancing your DIY smart security.
The Rise of DIY Smart Security: Why Now?
The accessibility and affordability of smart home technology have revolutionized the way we approach home security. Gone are the days when robust protection was reserved for the wealthy. Now, anyone can build a reliable and effective security system tailored to their specific needs and budget. The beauty of DIY smart security lies in its flexibility, cost-effectiveness, and the empowerment it offers homeowners to take control of their safety.
The market is flooded with innovative devices, from motion sensors to smart cameras, all designed for easy installation and integration. This guide will focus on a curated selection of three devices that offer maximum impact for minimal investment, ensuring you get the best bang for your buck while achieving peace of mind.
Understanding Your Security Needs: A Pre-Installation Checklist
Before diving into device selection, take a moment to assess your home’s vulnerabilities. Consider entry points, valuable assets, and areas that might benefit from monitoring. This brief assessment will help you prioritize and ensure the chosen devices address your most pressing security concerns. Think about:
- Main Entry Points: Doors and ground-floor windows are obvious targets.
- Valuable Items: Where are your most precious belongings kept?
- Blind Spots: Are there areas outside or inside your home that are not easily visible?
- Connectivity: Do you have reliable Wi-Fi coverage in the areas where you plan to install devices? Most smart devices rely on a stable internet connection.
- Power Sources: Are there accessible power outlets for devices that aren’t battery-powered?
Having a clear understanding of these aspects will streamline your decision-making process and ensure you select the most effective devices for your unique situation, making your DIY smart security setup robust.
Device 1: Smart Door/Window Sensors (Approx. $30-$50 for a 2-pack)
Why They’re Essential for DIY Smart Security
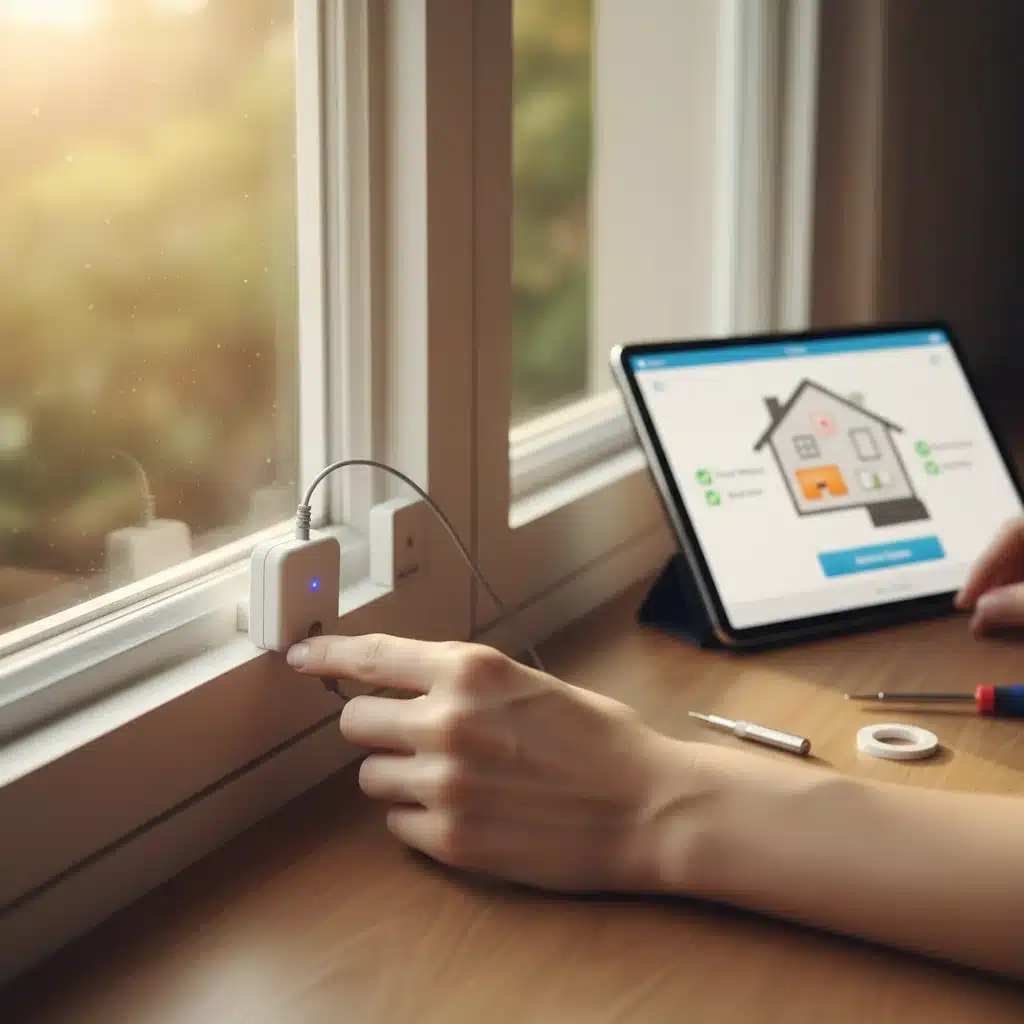
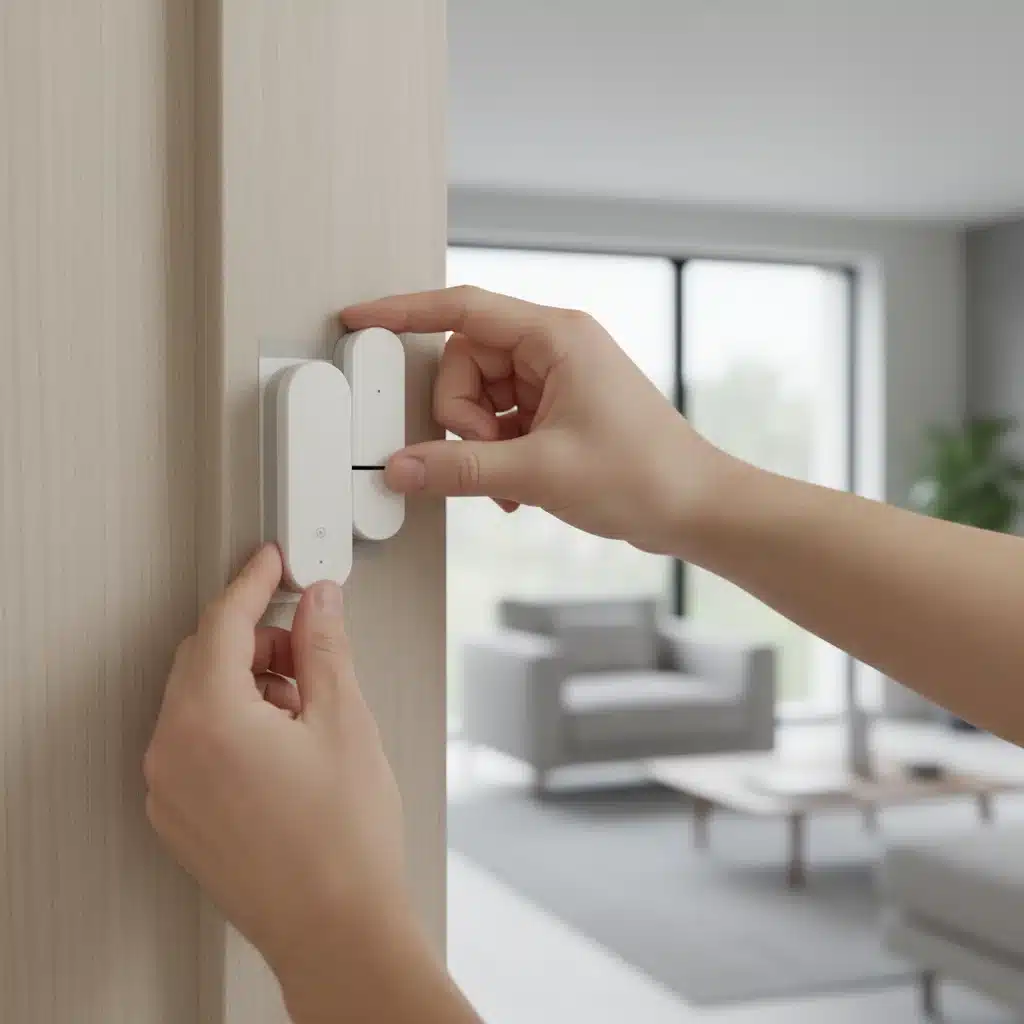
Smart door and window sensors are the cornerstone of any effective home security system. These small, discreet devices consist of two parts: one attached to the door or window frame, and the other to the door or window itself. When the two parts separate (i.e., the door or window opens), a signal is sent to your smartphone, alerting you to potential intrusion. They are incredibly easy to install and provide immediate, critical alerts, making them a top choice for enhancing your DIY smart security.
Key Features to Look For:
- Easy Installation: Most are adhesive-backed, requiring no tools or wiring.
- Battery Life: Look for sensors with long-lasting batteries (1-2 years is common).
- App Integration: Ensure compatibility with a user-friendly app that provides instant notifications.
- Smart Home Hub Compatibility: While many work standalone, some integrate with broader smart home ecosystems like Amazon Alexa or Google Home for enhanced automation.
Installation Guide:
- Choose Your Spots: Prioritize main entry doors and easily accessible ground-floor windows.
- Clean the Surface: Use an alcohol wipe to clean the area where the sensor will be placed. This ensures good adhesion.
- Attach the Main Sensor: Peel off the adhesive backing and firmly press the larger part of the sensor onto the door or window frame.
- Attach the Magnet: Place the smaller magnetic part onto the door or window itself, aligning it with the main sensor. Ensure the gap between the two parts is minimal (usually within 1/2 inch) when the door/window is closed.
- Connect to App: Follow the manufacturer’s instructions to pair the sensor with its dedicated app. This typically involves opening the app, selecting ‘Add Device,’ and following on-screen prompts.
- Test: Open and close the door/window to confirm you receive notifications on your smartphone.
These sensors offer an immediate layer of protection, alerting you the moment an unauthorized entry attempt occurs. They are an indispensable component of any effective DIY smart security setup.
Device 2: Smart Indoor Security Camera (Approx. $40-$80)
Why It’s a Game-Changer for DIY Smart Security
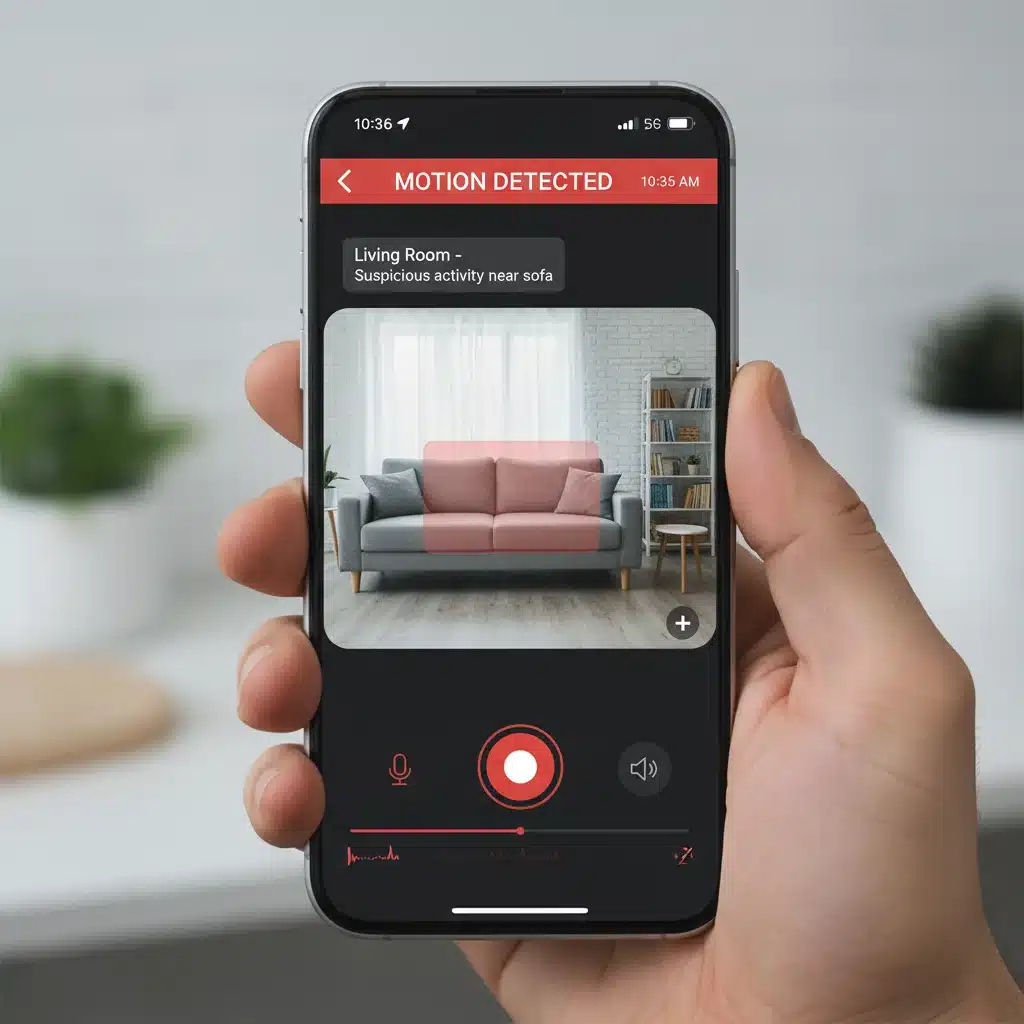
A smart indoor security camera provides crucial visual verification and monitoring capabilities. While sensors alert you to an event, a camera allows you to see what’s happening, whether it’s an intruder, a pet, or just a package delivery. Modern indoor cameras are incredibly versatile, offering features like two-way audio, night vision, and motion detection, all accessible from your smartphone. This visual component is vital for a comprehensive DIY smart security system.
Key Features to Look For:
- HD Video Quality: At least 1080p for clear images.
- Night Vision: Essential for monitoring in low-light conditions.
- Two-Way Audio: Allows you to speak through the camera, which can be useful for deterring intruders or communicating with family.
- Motion Detection & Alerts: Customizable sensitivity and instant notifications are key.
- Local or Cloud Storage: Consider options for saving video footage (SD card, cloud subscription). Many offer a free tier for basic cloud storage.
- Wide-Angle Lens: Maximizes coverage of a room.
Installation Guide:
- Choose Your Location: Place the camera in a central location with a clear view of the area you want to monitor, such as a living room or main hallway. Ensure it’s near a power outlet.
- Power On: Plug the camera into a power source.
- Connect to Wi-Fi: Download the camera’s dedicated app and follow the on-screen instructions to connect it to your home Wi-Fi network. This usually involves scanning a QR code on the camera or entering your Wi-Fi credentials.
- Mount (Optional): Most indoor cameras come with a stand and can be placed on a shelf or table. If you prefer to mount it on a wall or ceiling, use the provided mounting hardware.
- Configure Settings: Adjust motion detection sensitivity, notification preferences, and any other features within the app.
- Test: Walk in front of the camera, speak through the two-way audio, and check the live feed on your phone to ensure everything is working correctly.
An indoor camera provides invaluable peace of mind, allowing you to visually confirm alerts from your sensors and monitor your home remotely. It’s a critical component of a robust DIY smart security setup.
Device 3: Smart Plug with Scheduling (Approx. $15-$30)
More Than Just Convenience: A Smart Security Tactic
While often overlooked in security discussions, a smart plug can be an incredibly effective tool for deterring potential intruders. By connecting lamps or other light sources to a smart plug, you can schedule them to turn on and off at various times, mimicking occupancy even when you’re away. This creates the illusion that someone is home, making your property less appealing to burglars. It’s a simple yet powerful addition to your DIY smart security arsenal.
Key Features to Look For:
- Scheduling & Timer Functions: The ability to set custom schedules and countdown timers.
- Remote Control: Turn devices on/off from anywhere using your smartphone app.
- Voice Control: Compatibility with voice assistants like Alexa or Google Assistant for hands-free operation.
- Easy Setup: Simple pairing with your Wi-Fi network.
Installation Guide:
- Plug In: Insert the smart plug into an existing wall outlet.
- Connect a Lamp: Plug a lamp (or any other device you want to control) into the smart plug.
- Download App & Pair: Download the smart plug’s dedicated app and follow the instructions to connect it to your home Wi-Fi. This usually involves a simple pairing process within the app.
- Create Schedules: Within the app, set up schedules for the lamp to turn on and off at different times throughout the day and evening. Vary the times to make it look more natural.
- Test: Manually toggle the lamp on and off using the app to ensure remote control functionality.
A smart plug offers an affordable and effective way to enhance your home’s perceived occupancy, adding a crucial layer of deterrence to your DIY smart security strategy. It’s a small investment with a significant security impact.
Total Cost Breakdown (Estimated):
- Smart Door/Window Sensors (2-pack): $30-$50
- Smart Indoor Security Camera: $40-$80
- Smart Plug: $15-$30
- Total Estimated Cost: $85-$160
As you can see, staying well within the $200 budget is entirely achievable, allowing you to build a robust DIY smart security system without financial strain.
Integrating Your DIY Smart Security System
While each of these devices works independently, their true power lies in their ability to work together. Many smart home platforms and apps allow for basic integrations:
- IFTTT (If This Then That): This service allows you to create custom automations. For example, ‘If a door/window sensor is triggered, then turn on the smart plug connected to a lamp.’
- Manufacturer Ecosystems: If you choose devices from the same brand (e.g., Wyze, TP-Link Kasa, Ring, Blink), they often have better native integration within their own apps, allowing for more seamless automation and control.
- Voice Assistants: Connect your devices to Amazon Alexa or Google Assistant for voice control and to receive notifications through smart speakers.
By integrating these devices, you create a more cohesive and responsive security network, elevating your DIY smart security from individual gadgets to a unified system.
Tips for Maximizing Your DIY Smart Security
- Regular Testing: Periodically test your sensors and camera to ensure they are working correctly and that you receive notifications.
- Strong Wi-Fi: A reliable and strong Wi-Fi signal is paramount for all smart devices. Consider a Wi-Fi extender if you have dead zones.
- Secure Your Network: Use a strong, unique password for your Wi-Fi network and change it regularly. Enable WPA2 or WPA3 encryption.
- Update Firmware: Keep your device firmware updated to ensure optimal performance, security patches, and access to new features.
- Placement is Key: Strategically place sensors and cameras for maximum coverage and effectiveness.
- Consider a Siren: While not included in our under-$200 budget, a standalone smart siren can be a powerful deterrent when triggered by a sensor.
- Inform Neighbors: Let trusted neighbors know about your security system and provide them with emergency contact information.
- Backup Power: For critical devices like your Wi-Fi router and camera, consider a small UPS (Uninterruptible Power Supply) to maintain functionality during power outages.
Common Challenges and Troubleshooting for DIY Smart Security
Even with straightforward installations, you might encounter minor hurdles. Here are some common issues and how to address them:
Wi-Fi Connectivity Issues:
- Problem: Device won’t connect or frequently disconnects.
- Solution: Ensure your Wi-Fi network is 2.4GHz (most smart devices only support this band). Check the distance from your router; too far, and the signal weakens. Consider a Wi-Fi extender. Restart your router and the smart device.
Notifications Not Working:
- Problem: You’re not receiving alerts from sensors or cameras.
- Solution: Check your smartphone’s notification settings for the device’s app. Ensure notifications are enabled and not silenced. Verify that the device is online in its app.
Battery Life Shorter Than Expected:
- Problem: Sensor batteries drain quickly.
- Solution: High traffic areas might trigger sensors more frequently, consuming more power. Ensure the sensor isn’t in a location with constant, unnecessary triggers. Check for firmware updates, as efficiency improvements are often included.
False Alarms:
- Problem: Motion sensors or cameras trigger alerts without actual activity.
- Solution: Adjust the sensitivity settings in the app. For cameras, define specific motion zones to ignore pets or moving branches outside a window. Ensure sensors are firmly attached and not jostled by drafts.
Device Not Responding to App Commands:
- Problem: Smart plug or camera doesn’t respond to remote commands.
- Solution: Check if the device is online in the app. Ensure your phone has an internet connection. Try unplugging and re-plugging the device to power cycle it. If issues persist, factory reset and re-pair the device.
Most issues with DIY smart security devices are resolvable with a little patience and troubleshooting. Don’t hesitate to consult the manufacturer’s support resources or online forums for specific device problems.
Expanding Your Smart Security System in the Future
Once you’ve mastered your initial DIY smart security setup, you might consider expanding it as your budget allows. Here are a few ideas for future enhancements:
- Outdoor Security Camera: For monitoring your property’s perimeter. Look for weather-resistant models with good night vision.
- Smart Lock: Replace your traditional deadbolt with a smart lock for keyless entry, remote access control, and activity logs.
- Video Doorbell: See and speak to visitors from anywhere, even when you’re not home, and get alerts for package deliveries.
- Additional Sensors: Expand coverage to more windows, garage doors, or even add water leak sensors for flood protection.
- Smart Lighting Systems: Beyond simple smart plugs, integrated smart lighting systems can create more sophisticated occupancy simulations.
- Smart Hub: If you start acquiring many devices from different brands, a dedicated smart home hub (like Samsung SmartThings or Hubitat) can unify control and enable more complex automations.
The world of smart home technology is constantly evolving, offering endless possibilities to customize and enhance your home’s security and convenience. Starting with a solid foundation of DIY smart security sets you up for future expansion.
Conclusion: Empowering Your Home with DIY Smart Security
Securing your home doesn’t have to be a daunting or expensive endeavor. By focusing on essential devices and embracing a DIY approach, you can create a robust and effective DIY smart security system for under $200. The combination of smart door/window sensors, an indoor security camera, and a strategic smart plug provides a powerful deterrent and monitoring capability, giving you peace of mind whether you’re home or away.
Remember, the goal is not just to install technology, but to create a responsive and intelligent shield around your home. With the tips and guides provided, you’re well-equipped to embark on this journey and have your home significantly safer by next month. Take control of your home’s security today and experience the benefits of a smarter, more protected living space.