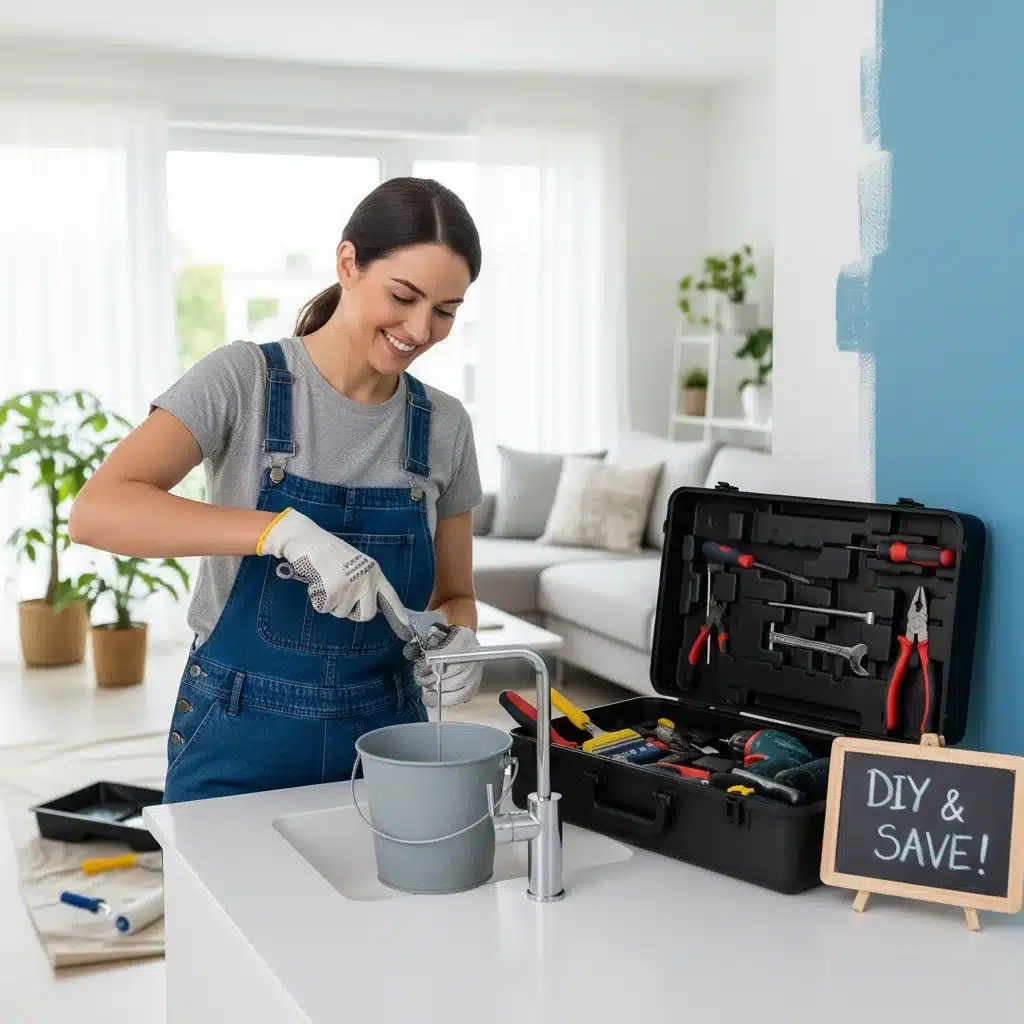
In an era where every dollar counts, taking control of your home’s upkeep is not just a chore; it’s a strategic financial move. As we look towards 2026, the rising costs of professional services make mastering home maintenance DIY skills more crucial than ever. Imagine saving upwards of $1,500 each year by simply tackling common household repairs yourself. This isn’t a pipe dream; it’s an achievable reality. This comprehensive guide will walk you through five essential DIY skills that will not only empower you but also significantly lighten your financial load. From leaky faucets to flickering lights, we’ll equip you with the knowledge to confidently handle a wide array of household issues, transforming you from a homeowner reliant on others to a self-sufficient maintenance master.
Anúncios
The average homeowner spends hundreds, if not thousands, annually on professional services for tasks that, with a little guidance, could be easily managed independently. By dedicating a small amount of time to learning and practicing these fundamental home maintenance DIY skills, you’ll not only save money but also gain a deeper understanding of your home’s systems, preventing minor issues from escalating into costly disasters. Let’s dive into the core competencies that will make you a more capable and financially savvy homeowner in 2026 and beyond.
Understanding the Financial Impact of DIY Home Maintenance
Before we delve into the specific skills, let’s quantify the potential savings. Consider the typical service call fee for a plumber, electrician, or HVAC technician. Even for a minor repair, these can range from $75 to $200 just to show up, plus labor and parts. Over a year, even two or three such calls can easily add up to $500-$1,000. For more complex issues, the costs skyrocket. By learning home maintenance DIY skills, you eliminate these service charges entirely. You pay only for parts, which are often a fraction of the total professional repair cost. This is why our target of saving over $1,500 annually is not just ambitious but entirely realistic for proactive homeowners.
Furthermore, the proactive nature of DIY maintenance can prevent larger, more expensive problems. Regular inspections and minor fixes, which you can easily perform yourself, can catch issues before they become emergencies. A small leak fixed promptly prevents water damage; a properly sealed window reduces energy loss; a clean HVAC filter extends the life of your unit. These preventative measures, driven by your newfound skills, contribute to long-term savings and increased home value.
Anúncios
Skill 1: Basic Plumbing Repairs – Conquering Leaks and Clogs
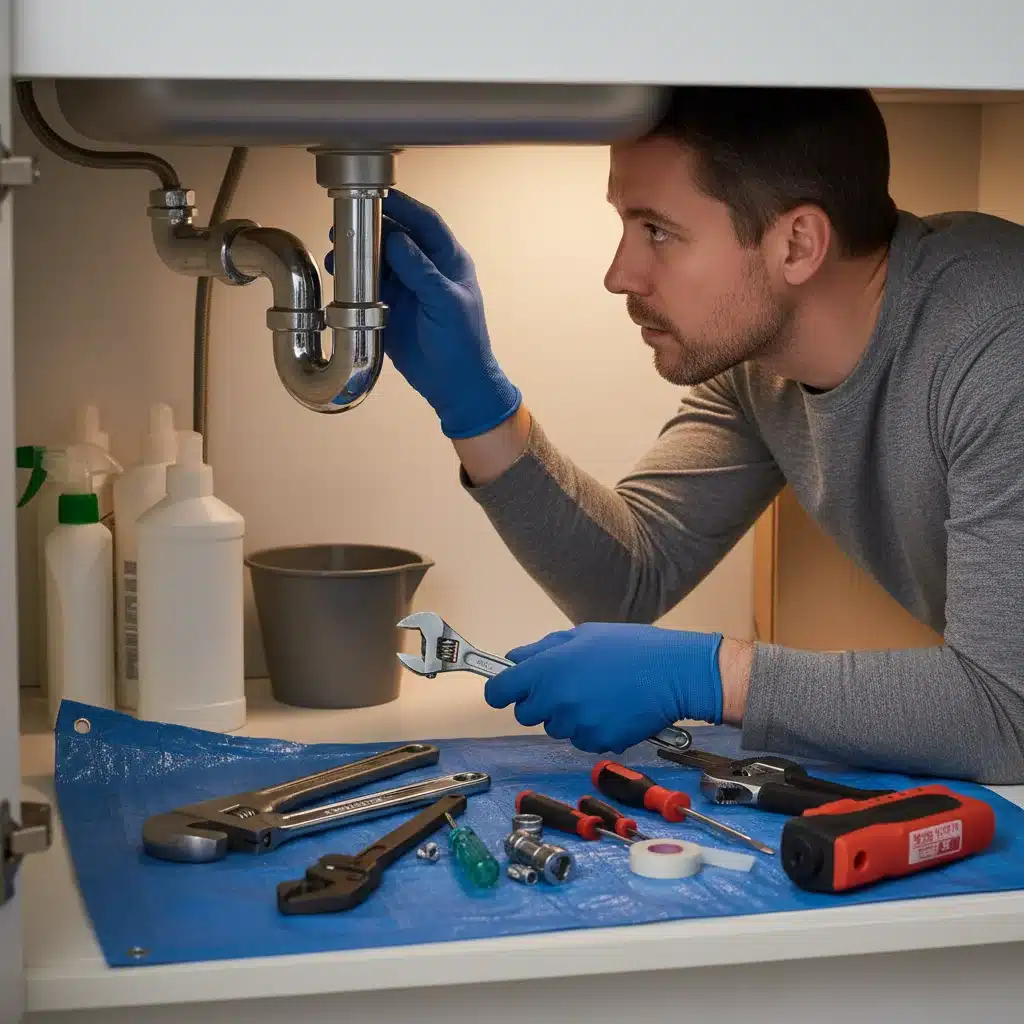
Plumbing issues are among the most common and, if left unattended, can cause significant damage. Mastering basic plumbing is a cornerstone of effective home maintenance DIY skills. You don’t need to be a licensed plumber to fix a leaky faucet or clear a clogged drain. These are often straightforward tasks that require a few basic tools and a bit of know-how.
Tackling Leaky Faucets
A persistent drip can waste gallons of water and inflate your utility bill. Most leaky faucets are caused by worn-out washers, O-rings, or cartridges. The good news? Replacing these components is relatively simple.
- Tools Needed: Screwdriver set, adjustable wrench, penetrating oil (optional), replacement parts (washers, O-rings, cartridge specific to your faucet model).
- Steps:
- Turn off the water supply to the faucet (usually under the sink).
- Close the drain to prevent losing small parts.
- Disassemble the faucet handle and spout according to your faucet’s design (often involves removing a decorative cap and unscrewing a screw).
- Carefully remove the old washer, O-ring, or cartridge.
- Replace with new parts.
- Reassemble the faucet, turn on the water, and check for leaks.
Online tutorials and your faucet’s manufacturer website are excellent resources for specific instructions for your model. This simple repair can save you a $150-$300 plumber’s bill.
Clearing Clogged Drains
Slow or stopped drains are inconvenient but rarely require a professional. Most clogs are caused by hair, grease, or soap scum.
- Tools Needed: Plunger, drain snake (manual or electric), baking soda, vinegar, boiling water.
- Steps:
- Plunger First: For minor clogs, a good quality plunger is often all you need. Ensure a tight seal over the drain and plunge vigorously.
- Baking Soda and Vinegar: For tougher clogs, pour half a cup of baking soda down the drain, followed by half a cup of white vinegar. Let it sit for 30 minutes to an hour (or even overnight), then flush with boiling water. The chemical reaction helps break down organic matter.
- Drain Snake: If the above methods fail, a drain snake can physically break up or retrieve the clog. Feed the snake into the drain until you hit resistance, then twist and push to clear the blockage. Slowly retract the snake, pulling out any debris.
Knowing how to handle these common plumbing issues will save you time, money, and the frustration of waiting for a professional. It’s a foundational element of effective home maintenance DIY skills.
Skill 2: Basic Electrical Troubleshooting and Minor Repairs – Safe and Smart Solutions
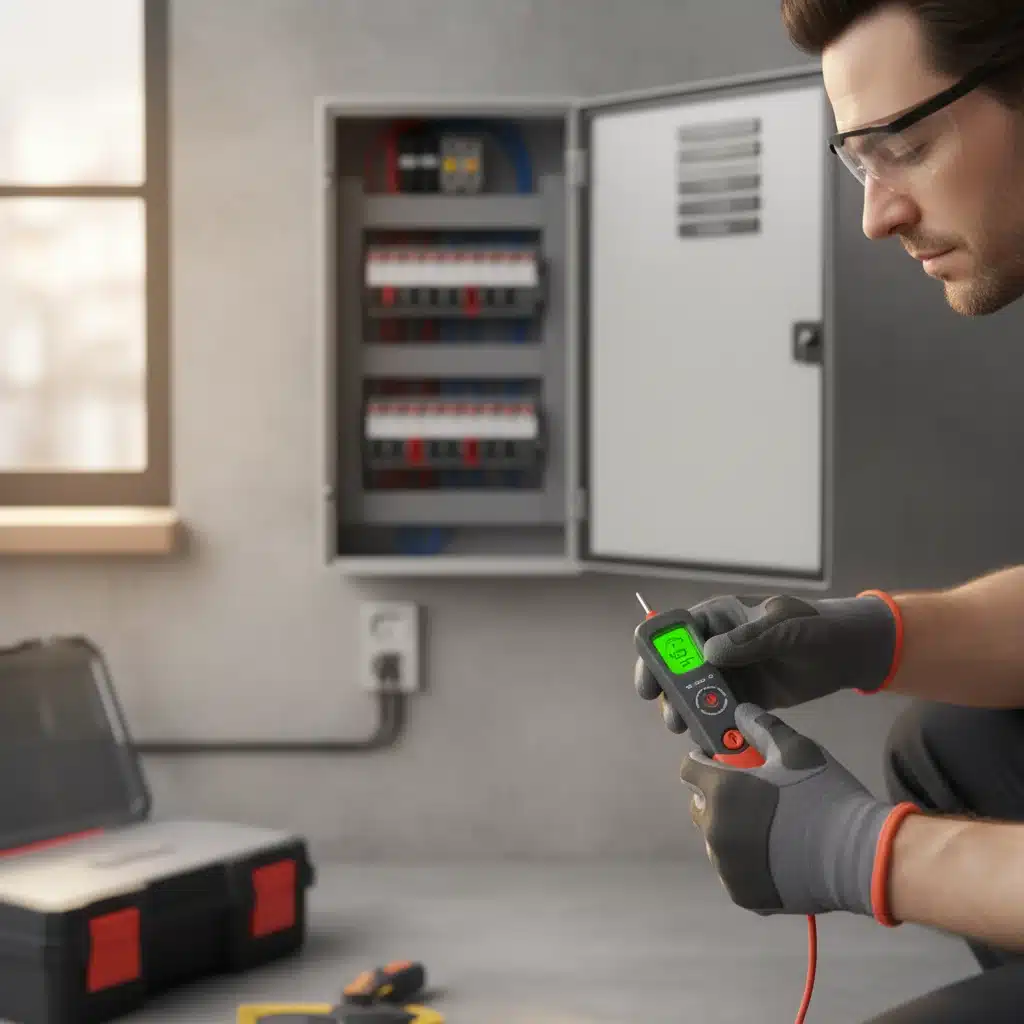
Electrical issues can be intimidating, but many common problems are surprisingly simple to fix, provided you prioritize safety. This category of home maintenance DIY skills focuses on safe troubleshooting and minor repairs, not major wiring projects.
Resetting Tripped Breakers and GFCI Outlets
A tripped circuit breaker or GFCI (Ground Fault Circuit Interrupter) outlet is often a protective measure, not a sign of a major problem.
- Tripped Breaker: If an appliance suddenly loses power, check your electrical panel. A tripped breaker will be in the ‘off’ or middle position. To reset, firmly push it to the ‘off’ position, then back to ‘on.’ If it trips again immediately, there’s a deeper issue requiring professional attention.
- Tripped GFCI: GFCI outlets have ‘test’ and ‘reset’ buttons and are typically found in bathrooms, kitchens, and outdoor areas. If an outlet isn’t working, press the ‘reset’ button. If it doesn’t reset, try unplugging all devices connected to it, then reset again.
Understanding these basics can save you a service call for a seemingly complex electrical problem.
Replacing Light Switches and Outlets
Replacing a non-working light switch or a loose outlet is a straightforward task for someone with basic home maintenance DIY skills. Always prioritize safety.
- Tools Needed: Screwdriver set (Phillips and flathead), wire strippers, voltage tester, new switch/outlet.
- Safety First: ALWAYS turn off the power to the circuit at the main breaker panel before starting any electrical work. Verify the power is off using a voltage tester.
- Steps:
- Turn off power at the breaker.
- Remove the cover plate from the old switch/outlet.
- Unscrew the switch/outlet from the electrical box.
- Carefully disconnect the wires, noting their positions (usually black to brass screw, white to silver screw, bare copper/green to green ground screw).
- Connect the new switch/outlet, ensuring wires are securely fastened to the correct terminals.
- Screw the new switch/outlet back into the box and replace the cover plate.
- Turn power back on at the breaker and test.
This skill can save you $100-$250 per repair and enhance your home’s functionality. Remember, for any complex or persistent electrical issues, always consult a licensed electrician.
Skill 3: HVAC Filter Replacement and Basic Maintenance – Breathing Easy and Saving Energy
Your heating, ventilation, and air conditioning (HVAC) system is one of the most critical and expensive components of your home. Regular, simple maintenance can significantly extend its lifespan, improve efficiency, and prevent costly breakdowns. This is a vital area for home maintenance DIY skills.
Replacing Air Filters
This is perhaps the easiest and most impactful HVAC maintenance task. A dirty air filter restricts airflow, making your system work harder, consuming more energy, and reducing indoor air quality.
- Frequency: Replace filters every 1-3 months, depending on your system usage, number of occupants, and presence of pets.
- Steps:
- Locate your HVAC unit’s filter slot (often in the return air vent or within the furnace/air handler unit).
- Note the size printed on the old filter (e.g., 20x25x1).
- Slide out the old filter and slide in the new one, ensuring the airflow arrow points in the correct direction (usually towards the furnace/air handler).
The cost of filters is minimal, but the savings in energy bills and reduced wear on your system are substantial. Neglecting this can lead to premature system failure, costing thousands.
Cleaning Condensate Drain Lines
The condensate drain line removes moisture from your AC unit. If it clogs, water can back up, potentially causing leaks and even shutting down your AC. This is a common issue easily addressed with home maintenance DIY skills.
- Tools Needed: Wet/dry vacuum, funnel, distilled white vinegar.
- Steps:
- Locate the condensate drain line (a PVC pipe usually exiting your indoor AC unit).
- Find the access port (often a T-shaped vent with a cap).
- Remove the cap and pour about a cup of distilled white vinegar down the line to kill mold and algae. Let it sit for 30 minutes.
- Alternatively, if clogged, use a wet/dry vacuum to suction out the clog from the outdoor end of the drain line.
Performing these simple tasks annually can prevent emergencies and costly professional HVAC service calls, which can range from $200-$500 for a basic tune-up or clog removal.
Skill 4: Basic Carpentry and Drywall Repair – Fixing Wear and Tear
From nail holes to minor dents, your home’s walls and trim take a beating. Learning basic carpentry and drywall repair is an invaluable set of home maintenance DIY skills that keeps your home looking its best and preserves its value.
Patching Drywall Holes
Small holes from picture frames or accidental bumps are easy to fix.
- Tools Needed: Spackle or lightweight joint compound, putty knife, fine-grit sandpaper, damp cloth, paint.
- Steps:
- Clean the area around the hole.
- Apply a small amount of spackle or joint compound with a putty knife, pressing it into the hole.
- Smooth the compound flush with the wall surface.
- Allow to dry completely (drying time varies, check product instructions).
- Lightly sand the patched area until smooth.
- Wipe off dust with a damp cloth.
- Apply a second coat if necessary, repeating sanding.
- Prime (if needed) and paint to match the wall.
For larger holes (e.g., fist-sized), you might need a drywall patch kit, which involves cutting a small piece of drywall to fit, securing it, and then applying joint compound and tape. This saves you $100-$300 per repair that a handyman would charge.
Repairing Minor Wood Damage (Scratches, Dents)
Furniture moving or everyday accidents can leave marks on baseboards, door frames, or wood furniture. These are often cosmetic fixes that significantly improve the look of a room.
- Tools Needed: Wood filler, putty knife, fine-grit sandpaper, wood stain or paint, wood markers/crayons.
- Steps for Dents/Holes:
- Clean the damaged area.
- Apply wood filler with a putty knife, pressing it firmly into the dent or hole. Overfill slightly.
- Allow to dry completely.
- Sand the area smooth, flush with the surrounding wood.
- Apply stain or paint to match the existing finish.
- Steps for Scratches: For minor scratches, wood repair markers or crayons can often blend the scratch into the surrounding wood, making it almost invisible.
These simple carpentry fixes enhance your home’s aesthetic and contribute to its overall upkeep, an essential part of home maintenance DIY skills.
Skill 5: Appliance Troubleshooting and Minor Repairs – Extending Lifespan and Avoiding Service Calls
Appliances are significant investments, and when they act up, the immediate thought is often to call a repair technician or, worse, replace the unit. However, many common appliance issues can be diagnosed and fixed with basic home maintenance DIY skills, saving you hundreds on service calls or new purchases.
Washing Machine Issues (Not Draining, Not Spinning)
These are frequent complaints with washing machines and often have simple solutions.
- Not Draining:
- Check the Drain Hose: Ensure it’s not kinked or clogged.
- Clean the Pump Filter: Many front-load washers have a small access panel at the bottom with a drain pump filter. Consult your manual for its location and how to clean it. Lint and small objects often accumulate here.
- Not Spinning:
- Overload: An unbalanced or overloaded machine might prevent it from spinning. Redistribute the load.
- Lid Switch (Top-Loaders): The lid switch ensures the machine won’t spin with the lid open. If it’s faulty, the machine won’t spin. This can sometimes be replaced by a DIYer, but verify with your manual.
These fixes can save you a $150-$300 appliance repair visit.
Dishwasher Not Cleaning Effectively or Not Draining
A dirty dishwasher is usually a sign of easy-to-fix problems.
- Not Cleaning Effectively:
- Clean Spray Arms: Food particles can clog the small holes in the spray arms. Remove them (usually unscrew) and clear any blockages.
- Clean Filter: Most dishwashers have a removable filter at the bottom. Clean it regularly to remove food debris.
- Use Rinse Aid: Helps with drying and prevents spots.
- Not Draining:
- Check for Clogs: Inspect the drain hose for kinks or clogs.
- Garbage Disposal Connection: If you have a new garbage disposal, ensure the knockout plug for the dishwasher drain line has been removed.
Again, a few minutes of inspection and cleaning can often resolve issues that would otherwise lead to an expensive service call or the premature replacement of an appliance. This is where your home maintenance DIY skills truly pay off.
General Appliance Troubleshooting Tips
- Read the Manual: Your appliance manual is a treasure trove of troubleshooting information. Keep it handy!
- Check Power: Ensure the appliance is plugged in and the circuit breaker hasn’t tripped.
- Look for Error Codes: Many modern appliances display error codes that can be looked up in the manual for specific diagnostic steps.
- Cleanliness: Many appliance issues stem from lack of cleaning (e.g., refrigerator coils, dryer lint trap).
By applying these troubleshooting principles, you’ll be surprised how often you can resolve appliance issues without professional help, reinforcing your mastery of home maintenance DIY skills.
The Long-Term Benefits of Mastering Home Maintenance DIY Skills
Beyond the immediate financial savings, cultivating these home maintenance DIY skills offers a wealth of long-term benefits. You gain a deeper understanding of your home’s systems, allowing you to identify potential problems early and address them proactively. This proactive approach minimizes the risk of catastrophic failures and extends the lifespan of your home’s components and appliances. Your home becomes a more reliable, efficient, and comfortable living space.
Moreover, there’s an immense sense of satisfaction that comes with fixing things yourself. The confidence gained from successfully tackling a plumbing leak or an electrical issue is invaluable. It transforms you from a passive resident into an active steward of your property, enhancing your sense of ownership and capability. This empowerment can even spill over into other areas of your life, fostering a problem-solving mindset.
Building Your DIY Toolkit
To effectively implement your home maintenance DIY skills, a well-stocked toolkit is essential. You don’t need to buy everything at once, but gradually acquiring quality tools will make your DIY journey smoother and safer. Here’s a foundational list:
- Basic Hand Tools: Screwdriver set (Phillips and flathead), adjustable wrench, pliers (slip-joint, needle-nose), hammer, tape measure, utility knife.
- Safety Gear: Safety glasses, work gloves.
- Plumbing Specific: Plunger, drain snake, pipe wrench.
- Electrical Specific: Voltage tester, wire strippers, non-contact voltage detector.
- Carpentry/Drywall Specific: Putty knives, sandpaper, caulk gun.
- Miscellaneous: Headlamp or flashlight, level, stud finder.
Investing in quality tools is an investment in your home and your ability to maintain it. They will last longer and perform better, making your DIY projects more enjoyable and successful.
When to Call a Professional
While mastering home maintenance DIY skills is empowering, it’s equally important to know your limits. There are times when calling a licensed professional is not just advisable but necessary. This includes:
- Major Electrical Work: Rewiring, panel upgrades, or issues beyond simple switch/outlet replacement.
- Major Plumbing Work: Burst pipes, sewer line issues, water heater installation/repair.
- Complex HVAC Issues: Refrigerant leaks, compressor problems, furnace repairs involving gas lines.
- Structural Issues: Foundation cracks, roof damage, major carpentry requiring structural integrity.
- When You Feel Unsafe: If you are ever uncomfortable or unsure about a repair, especially involving electricity or gas, stop immediately and call a professional.
The goal is to handle common, manageable tasks yourself, not to become a substitute for a certified technician in all situations. Your DIY skills will allow you to confidently identify when a professional is truly needed, potentially saving you from unnecessary service calls for simple fixes.
Conclusion: Your Path to a Smarter, More Economical Home in 2026
As we navigate the complexities of modern living, taking charge of your home’s maintenance is a powerful step towards financial independence and peace of mind. By committing to learn and apply these five essential home maintenance DIY skills – basic plumbing, electrical troubleshooting, HVAC filter replacement, minor carpentry/drywall repair, and appliance troubleshooting – you are not just saving money; you are investing in your home’s longevity and your own capabilities.
Imagine the satisfaction of fixing a leaky faucet on a Sunday afternoon, knowing you just saved yourself a significant service fee. Envision the peace of mind that comes from understanding your home’s systems, preventing small issues from escalating. In 2026, let your home be a testament to your resourcefulness and proactive spirit. Start practicing these skills today, build your toolkit, and join the ranks of empowered homeowners saving over $1,500 annually. Your wallet, and your home, will thank you.